Investigation Example
A lot of people only think about their security cameras when something bad happens. When something bad does happen, it is important to be able to quickly find all all the relavent video clips.
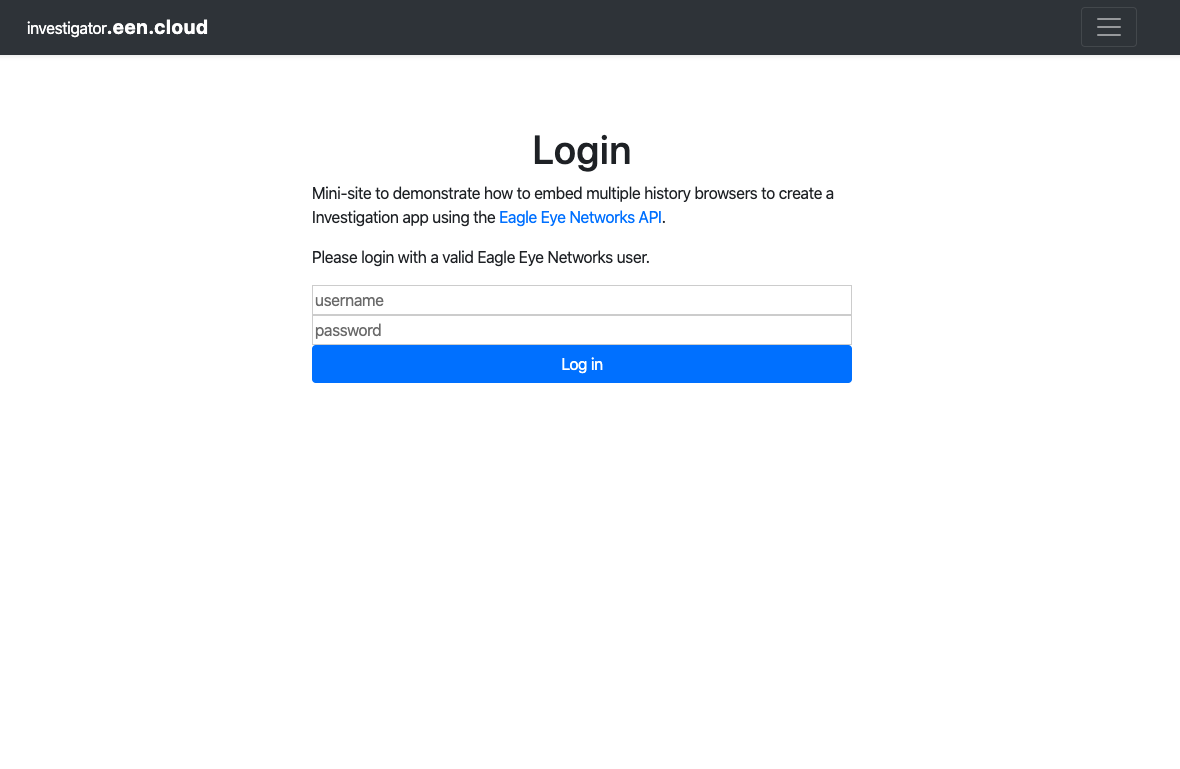
Step 1: Login
You can launch the Investigator example by going to https://investigator.een.cloud or you can self-host it by downloading the source from Github.
The login passes your credentials straight through to the Eagle Eye API. You can use this tool with any user that has access to cameras and has the correct permissions to view the historic video. This example does not work with users in a reseller account, but it could be easily modified to swtich to a sub-account using our API.
Step 2: Choose Cameras
You can choose up to four cameras to be displayed. This is loading the history browser as an iFrame and has the same functionality as if there were launched from the Eagle Eye VMS. You can more information about embedding the history browser here.
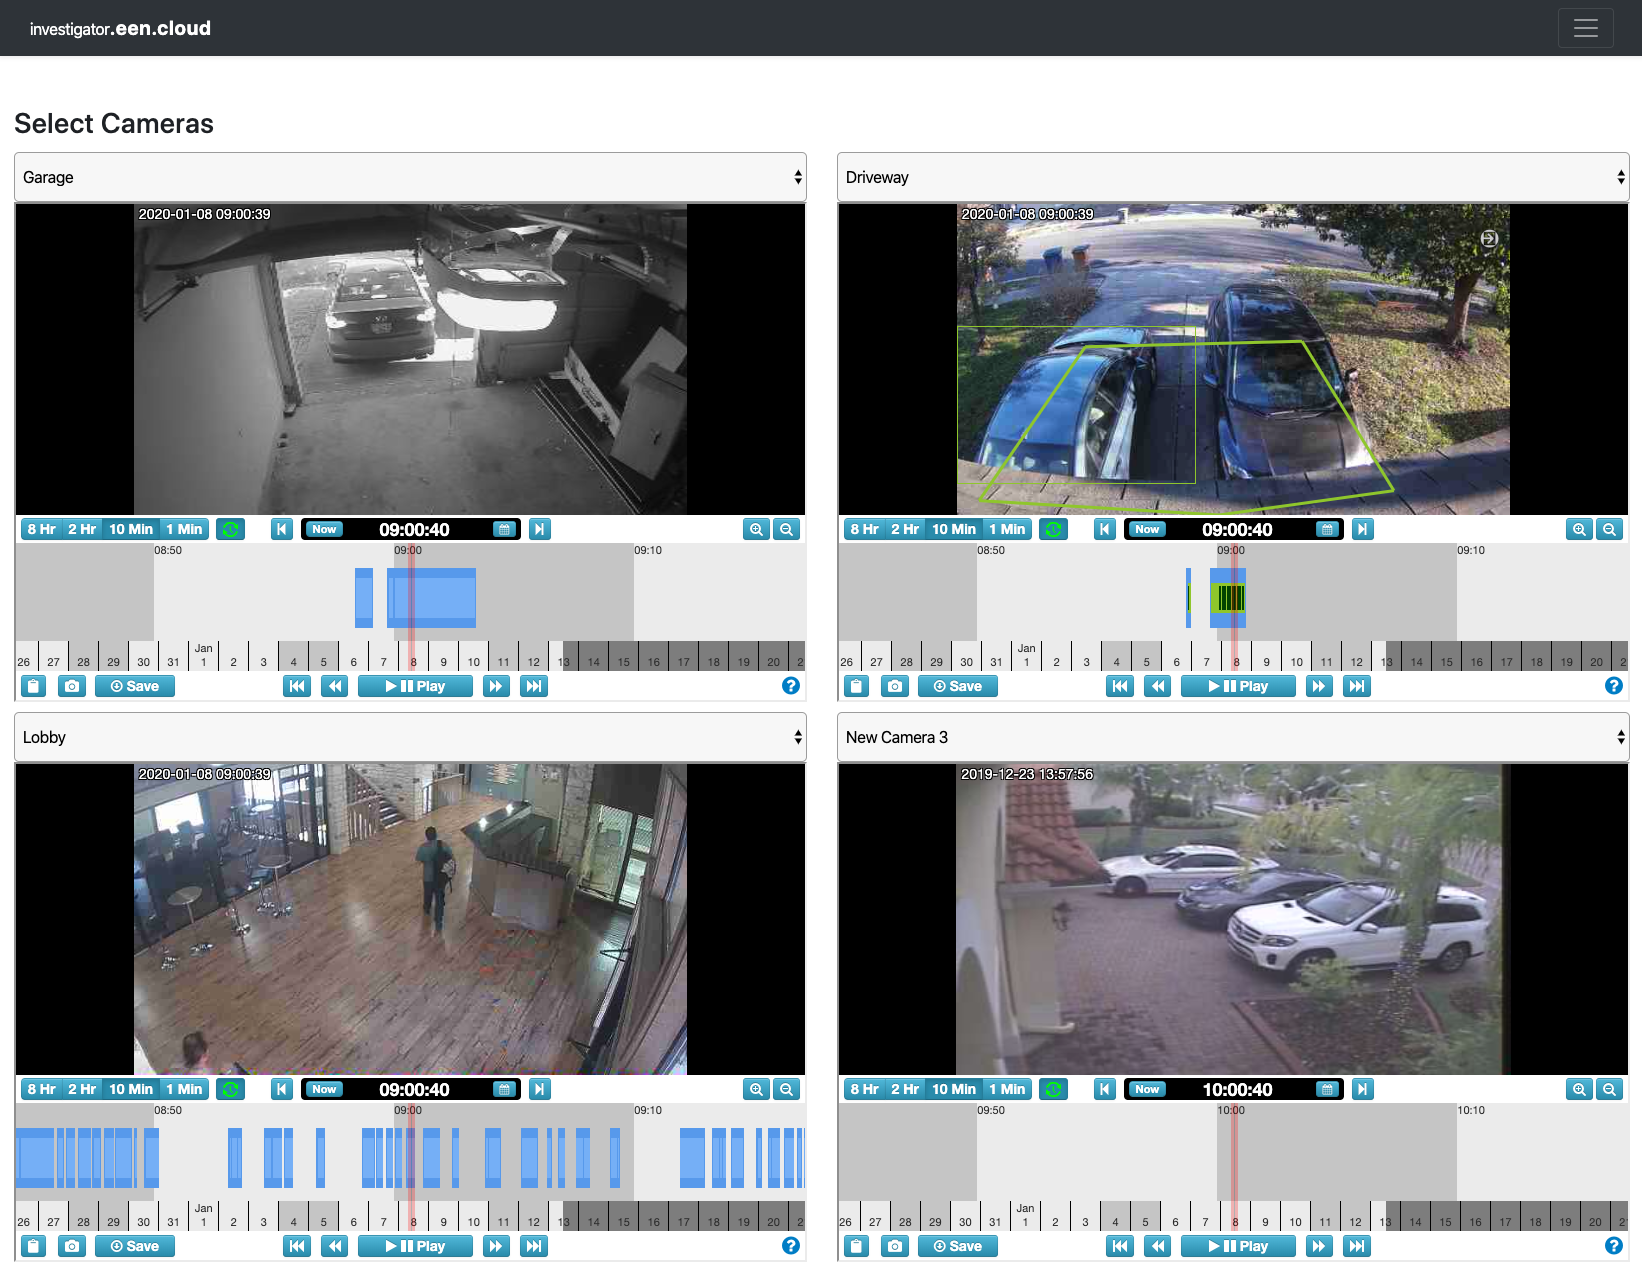
Step 3: Sync and un-Sync Timelines
When interacting with multiple history browsers, you have the option for them to sync/un-sync their timelines. It is helpful to have the timelines sync for find video or for seeing multiple views at once.
If you are looking at a linear sequence of evetns that it is often better to un-sync the timelines so that you can continue the second video where the first video ended. (I show an example of this in the introduction video above)
What else can we do with this?
You have all the normal history browser options. You can download the video, or use the archive if it is availble on your account. Using the built-in tools on Windows/MacOS you can play the videos and do basic editting of them. Included is a quick sample video showing.
I hope you found this helpful. If you have any questions please feel free to reach out to us at api_support@een.com